A Guide to At-Home Waxing Essentials
- sjnimmo3
- Jun 2, 2025
- 4 min read
At-home waxing is an empowering and convenient way to achieve smooth, hair-free skin without the expense of salon visits. With many people opting to manage their beauty routines at home, it's essential to have the right tools and knowledge. In this guide, you will find everything you need to embark on your own waxing journey, from understanding the types of products available to tips for effective waxing.
Understanding Home Waxing
Home waxing can be a simple process if you are prepared with the right products and techniques. The idea is to remove unwanted hair from the root, which usually results in smoother skin for a longer duration compared to shaving. It's important to consider your skin type and hair type when choosing waxing products.
For instance, if you have sensitive skin, look for wax that suits your needs—such as hypoallergenic or soothing waxes enriched with aloe vera or calamine. If you're not sure which products are best, asking a beautician or researching trusted brands can provide clarity.

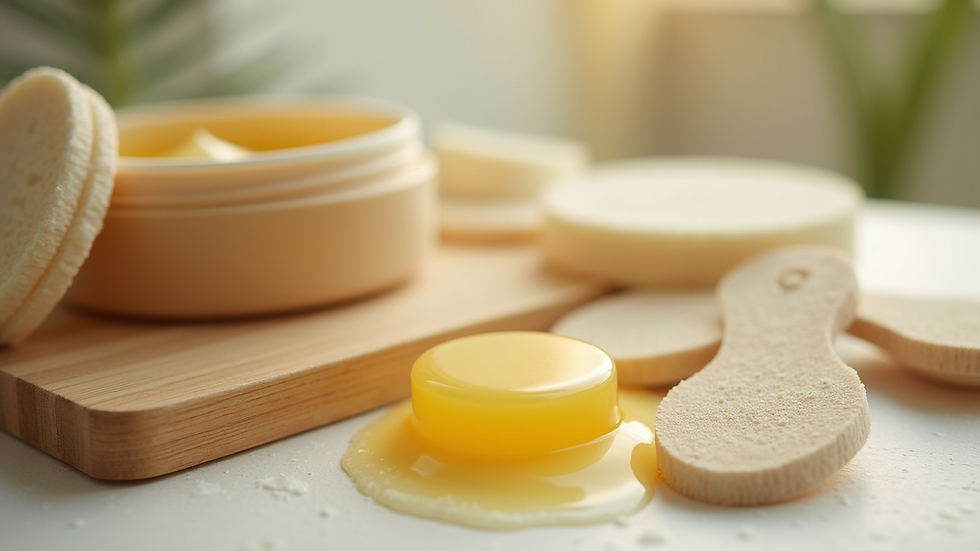
Essential Products for Home Waxing
When preparing for your home waxing session, ensure you gather the following essentials:
Wax: There are different types to choose from including hard wax, soft wax, and sugar wax. Hard wax is often less painful because it adheres only to the hair and not the skin. Soft wax is easy to spread and works well for larger areas but typically requires strips for removal. Sugar wax, made from natural ingredients, is ideal for sensitive skin.
Waxing Strips: If you choose soft wax, you will need strips. These can be pre-made or you can cut strips from fabric.
Pre-Wax Cleanser: To prepare your skin, a pre-wax cleanser removes oil, dirt, and bacteria, ensuring a clean surface for waxing.
Post-Wax Soothing Gel: After waxing, applying a soothing gel can help reduce irritation and redness.
Tweezers: Sometimes, not all hair will be removed in one go. Tweezers can help tackle the stubborn ones.
Applicator Sticks: If you're using hard wax or applying soft wax, these sticks are perfect for spreading the wax evenly.
By investing in these essentials, you'll create a flawless at-home waxing experience.
Preparing for a Waxing Session
Preparation is key to a successful waxing session. Here are some steps to follow before you begin:
Grow Your Hair: Ideally, you want your hair to be at least a quarter-inch long for the wax to grip effectively. If your hair is too short, it might not come off.
Exfoliate: Exfoliating your skin 24 hours before waxing helps remove dead skin. This can prevent ingrown hairs and improves wax grip.
Moisturize: Keeping your skin hydrated is vital. However, make sure you don’t apply moisturizer on the day of waxing. Oil can create a barrier preventing the wax from adhering effectively.
Do a Patch Test: If you're using a product for the first time, performing a patch test will help you identify any adverse reactions.
Taking these steps will help reduce pain and enhance the effectiveness of your waxing.
Techniques for Effective Home Waxing
Once you're prepared, let's delve into the techniques necessary for effective waxing.
Warm the Wax: Make sure the wax is heated to the consistent temperature as per instructions. Testing it on your wrist can help ensure it is comfortable.
Apply the Wax: Using an applicator stick, apply the wax in the direction of hair growth. This helps the wax adhere better.
Press and Remove: If using soft wax, place the waxing strip over the waxed area and rub it a few times. Hold the skin taut with one hand while quickly pulling the strip back against the direction of hair growth with the other hand.
Repeat: Continue until you've covered the desired area. Use tweezers for any leftover hairs.
Post-Wax Care: After waxing, apply soothing gel to relieve any redness or irritation. Avoid hot showers, tanning, or tight clothing for the next 24 hours.

Maintaining Smooth Skin After Waxing
Maintaining the results of your at-home waxing is essential for long-lasting smoothness. Here are some tips:
Moisturize: After a wax session, applying a gentle moisturizer will keep your skin hydrated and can prevent dryness and flakiness.
Exfoliate Regularly: To prevent ingrown hairs, gently exfoliate your skin twice a week using a mild scrub or exfoliating glove.
Stay Away from Heat: Avoid saunas, hot showers, or strenuous workouts for at least 24 hours post-waxing. These can irritate your skin.
If you feel extra comfortable with your skills, consider enhancing your home beauty regime with home waxing services for added guidance and expertise.
Final Thoughts for At-Home Waxing Success
At-home waxing can save you time and money while providing the opportunity for beautiful, smooth skin. By equipping yourself with the right tools, following preparation steps, and adhering to effective techniques, you can enjoy the benefits of waxing right from the comfort of your own home.
Always remember to listen to your skin's needs, keep up with maintenance, and don't hesitate to reach out for help if you're feeling uncertain. With practice, you'll soon be an expert at achieving smooth, hair-free skin on your own!


Comments